How to install ROCm 5.7.1 for 7900 XTX
 In this post, I'll share how I installed ROCm 5.7.1 for the AMD RX 7900 XTX on my machine. I did struggle to make it work, but once you figure out the supported combination of OS/kernel/ROCm versions, it is a straightforward process. Please note that this is just an example, and you may need to tweak the steps to install ROCm in your environment. The goal of this post is to create a working environment for running PyTorch 2.1.0 built for ROCm 5.6. As far as I tested in this post, the PyTorch built for ROCm 5.6 does work with 5.7.1.
 Preparation #
Uninstall the Nvidia driver #
If you're like me and you're switching from an Nvidia card to AMD, you may want to uninstall the current graphics driver first using the command: sudo apt purge nvidia*
Swap the GPU #
Turn off the computer, swap the GPU, and then boot the computer. The easiest way to check if the GPU is detected by the operating system is to view the 'About' section in Settings: 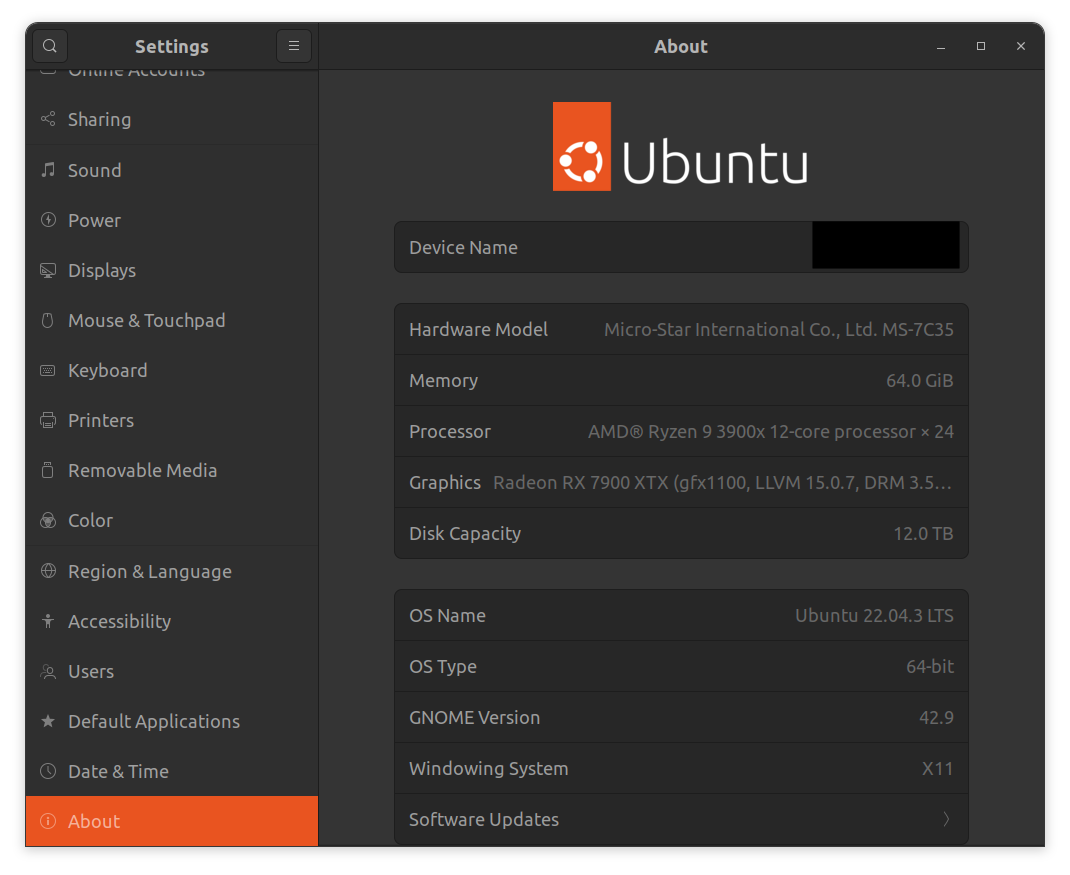
Alternatively, you can run the following command:
$ lspci -nnk | grep -i vga -A3
2f:00.0 VGA compatible controller [0300]: Advanced Micro Devices, Inc. [AMD/ATI] Device [1002:744c] (rev c8)
	Subsystem: Sapphire Technology Limited Device [1da2:471e]
	Kernel driver in use: amdgpu
	Kernel modules: amdgpu
Upgrade to Ubuntu 22.04 #
I had been using Ubuntu 20.04 for quite a while. Initially, I tried installing the AMD driver on 20.04 with a kernel 6.2, but it didn't work for me. After some Google searches, I found that some people had success with Ubuntu 22.04, so I decided to upgrade. If you plan to do the same, make sure to fix any GPG key errors on 'apt-get' first; otherwise, it won't let you upgrade. This process took about an hour, if I remember correctly. Don't forget to back up your data as well.
sudo apt update && sudo apt upgrade
sudo do-release-upgrade
After the upgrade your 7900 XTX should work right out of the box without manually installing a new graphics driver, as the OS is already shipped with a built-in AMD driver.
Install the supported kernel (kernel 6.2) #
This was a tricky step for me. There are two ways to install DKMS &ROCm; using the installation script or the package manager. You can opt for either approach, but I chose the package manager for my preference. Make sure that your OS and kernel versions are supported; you can check the list here.
If your kernel version is not supported, you'll need to install a compatible version. In my case, I opted for kernel version 6.2 as it is supported for 7900 XTX. However, I encountered the error "(dkms apport) kernel version not supported" after manually installing the mainline kernel 6.2: 6.2.0-060200-generic manually from .deb files. It seems that mainline kernels are not compatible with the AMD kernel driver. To address this, I had to upgrade to the kernel version 6.2.0.39-generic. using apt and uninstall the previously installed 6.2.0.
$ sudo apt update && sudo apt search linux-*image-*
...
linux-image-unsigned-6.2.0-39-generic # <= 6.2 is in the list
...
$ sudo apt install linux-image-unsigned-6.2.0-39-generic
If you encounter the same error, you'll also want to uninstall the incompatible kernel version, as the installation script or package manager will attempt to install the driver for all the kernels with the version 6.2.
$ dpkg --list | grep linux-image
$ sudo apt purge linux-modules-6.2.0-060200-generic linux-image-unsigned-6.2.0-060200-generic linux-headers-6.2.0-060200-generic
$ sudo update-grub
Install the AMD DKMS and ROCm 5.7.1 #
First, navigate to the prerequisites page; Make sure you've installed the kernel headers and development packages, and set up permissions for user groups if you haven't already.
If you intend to use the nightly version of PyTorch that supports ROCm 6.0, follow the official instructions from the latest ROCm doc (6.0 as of 01/04/24). For my use case I needed a stable version so I opted to install ROCm 5.7.1. Follow the instructions provided in the doc for the desired version of ROCm you want to install. Here's the link to the 5.7.1 doc.
# Add repositories
...
$ sudo apt update

# Install DKMS & ROCm
$ sudo apt install amdgpu-dkms
$ sudo apt install rocm-hip-sdk5.7.1
For the DKMS installation part, you can follow the steps in either the 5.7 or 6.0 documentation. Initially, I followed the steps from the 6.0 docs and installed the DKMS & ROCm 6.0 only to realize that it's not compatible with the latest stable version of PyTorch. Then, I uninstalled the ROCm 6.0, installed 5.7.1 and had no issues afterward. This suggests that the DKMS installed with the latest doc's steps was compatible with 5.7.1.
After completing the installation, make sure to follow the steps in the post installation section. To confirm correct installation, run the following commands:
$ dkms status
$ /opt/rocm/bin/rocminfo
$ /opt/rocm/bin/rocm-smi
Note that the path to binaries in the latest doc page is wrong and it's /opt/rocm/... or /opt/rocm-6.0.0/.... I think clinfo will only be installed when you installed rocm with opencl option.
Install PyTorch 2.1.0 #
I had success with torch 2.1.0 and torchvision 0.16.0. I usually use both poetry and docker envs for my ML projects and the below is an example setup.
poetry pyproject.toml:
[tool.poetry]
name = "rocm_test"
version = "0.1.0"
description = ""
authors = ["John Doe"]
readme = "README.md"

[tool.poetry.dependencies]
python = ">=3.9"
torch = { url = "https://download.pytorch.org/whl/rocm5.6/torch-2.1.0%2Brocm5.6-cp39-cp39-linux_x86_64.whl" }
torchvision = { url = "https://download.pytorch.org/whl/rocm5.6/torchvision-0.16.0%2Brocm5.6-cp39-cp39-linux_x86_64.whl" }

[tool.poetry.group.dev.dependencies]
pytest = "^7.3.1"

[build-system]
requires = ["poetry-core"]
build-backend = "poetry.core.masonry.api"
Dockerfile:
FROM rocm/pytorch:latest

WORKDIR /app
COPY . .

RUN pip3 install --upgrade pip
RUN pip3 install -r requirements.txt # If you have other dependencies
RUN pip3 install https://download.pytorch.org/whl/rocm5.6/torch-2.1.0%2Brocm5.6-cp39-cp39-linux_x86_64.whl
RUN pip3 install https://download.pytorch.org/whl/rocm5.6/torchvision-0.16.0%2Brocm5.6-cp39-cp39-linux_x86_64.whl
To confirm that PyTorch detects your AMD GPU, you can run these in the interpreter. As you can see I'm getting an NVML warning here but I didn't encounter any issues running models on GPU.
Python 3.9.6 (default, Jun 15 2022, 10:07:40)
[GCC 9.4.0] on linux
Type "help", "copyright", "credits" or "license" for more information.
>>> import torch
>>> torch.__version__
'2.1.0+rocm5.6'
>>> torch.cuda.is_available()
True
>>> torch.cuda.device_count()
/home/gota/.cache/pypoetry/virtualenvs/rocm-test-7WKIdKFi-py3.9/lib/python3.9/site-packages/torch/cuda/__init__.py:611: UserWarning: Can't initialize NVML
  warnings.warn("Can't initialize NVML")
1
>>> torch.cuda.current_device()
0
>>> torch.cuda.get_device_name(torch.cuda.current_device())
'Radeon RX 7900 XTX'
>>> torch.rand(3, 3).to("cuda:0")
tensor([[0.6327, 0.1133, 0.1328],
        [0.8192, 0.8875, 0.6650],
        [0.6430, 0.2727, 0.1466]], device='cuda:0')
Alternatively, you can run this nice script by @josedamico:
https://gist.github.com/damico/484f7b0a148a0c5f707054cf9c0a0533
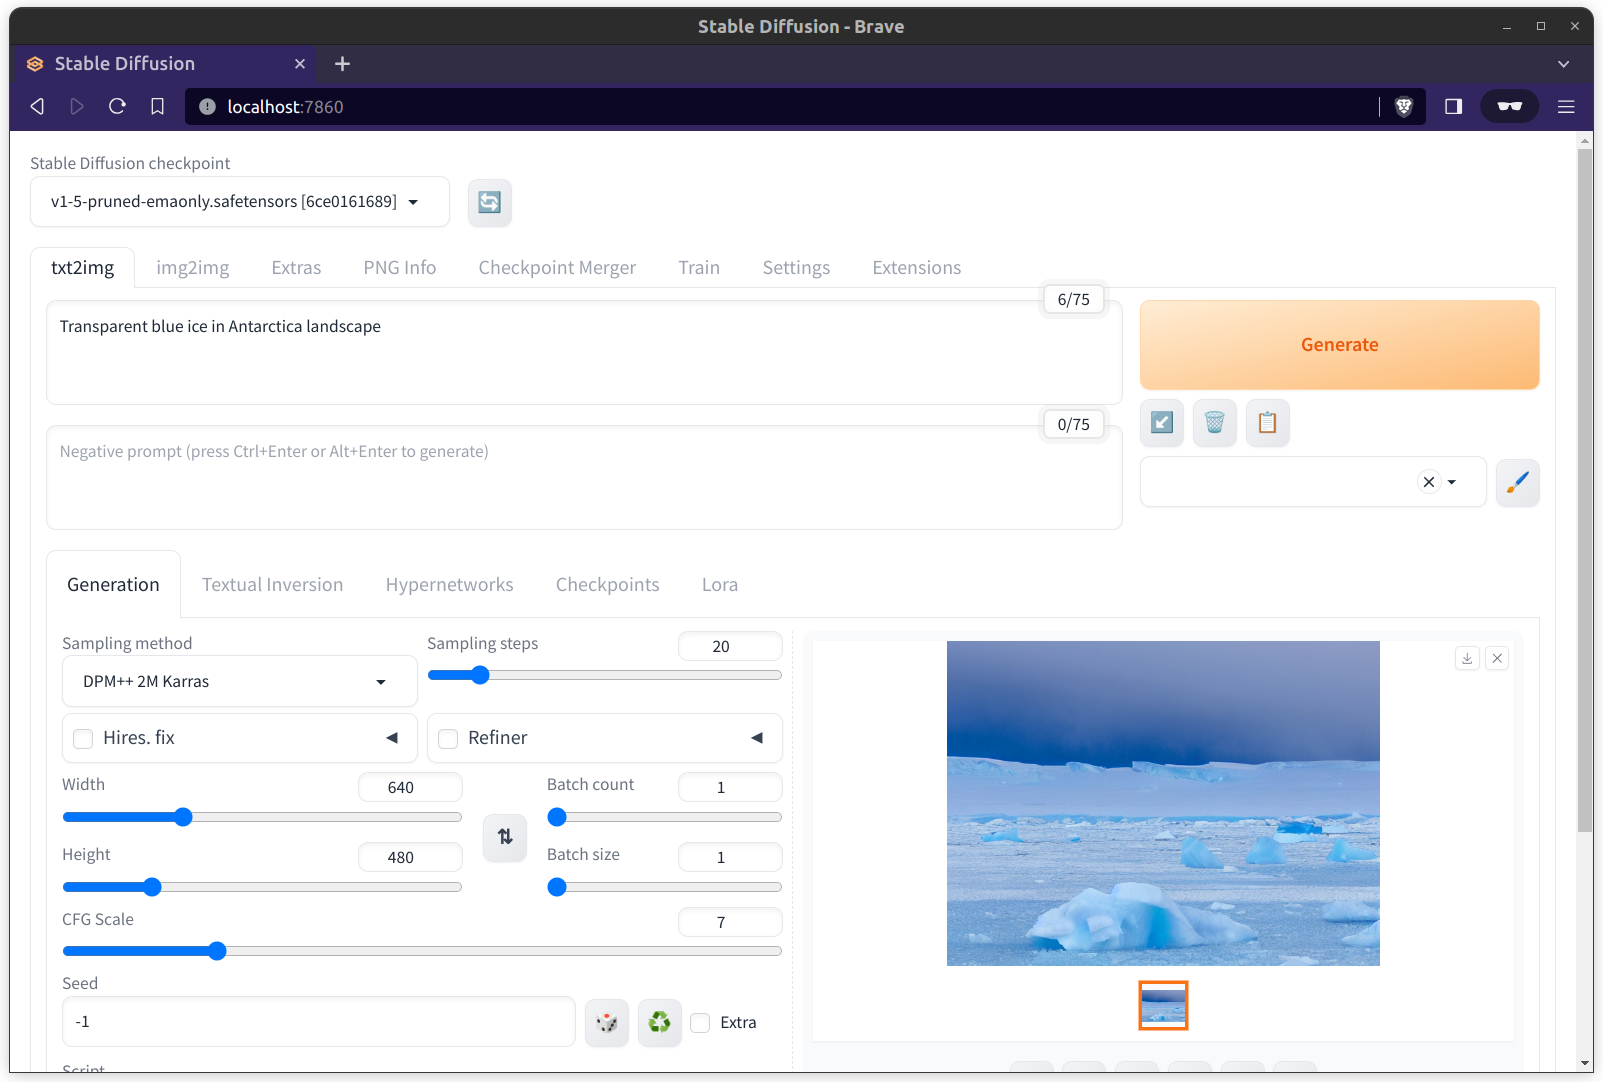
Run the Stable Diffusion WebUI #
To further confirm that this PyTorch environment works, let's run the Stable Diffusion WebUI locally and perform GPU inference. For instance, you can place the Dockerfile in the project directory and run the env like this:
$ git clone https://github.com/AUTOMATIC1111/stable-diffusion-webui.git
$ cp Dockerfile stable-diffusion-webui
$ cd stable-diffusion-webui
$ docker build -t sd-ui:1.0 .
$ docker run -it --rm -p 7860:7860 --shm-size 8G \
--device=/dev/kfd --device=/dev/dri --group-add=video \
--ipc=host --cap-add=SYS_PTRACE --security-opt seccomp=unconfined --volume="`pwd`:/app:rw" --volume=$HOME/dockerx:/dockerx sd-ui:1.0 bash
To load models and run the server, I needed to add specific options described in their Wiki page. Within the docker container, use launch.py to run the server. Include the --listen option to host it on 0.0.0.0 so that you can access the web UI from the host machine's browser.
$ python launch.py --precision full --no-half --listen
Finally, confirm that you can generate images in the browser. If you're curious you may also want to try other cool models to see if they work with this setup.
Now you can leverage this hefty GPU for training your awesome deep learning models. Happy training!